Preparation
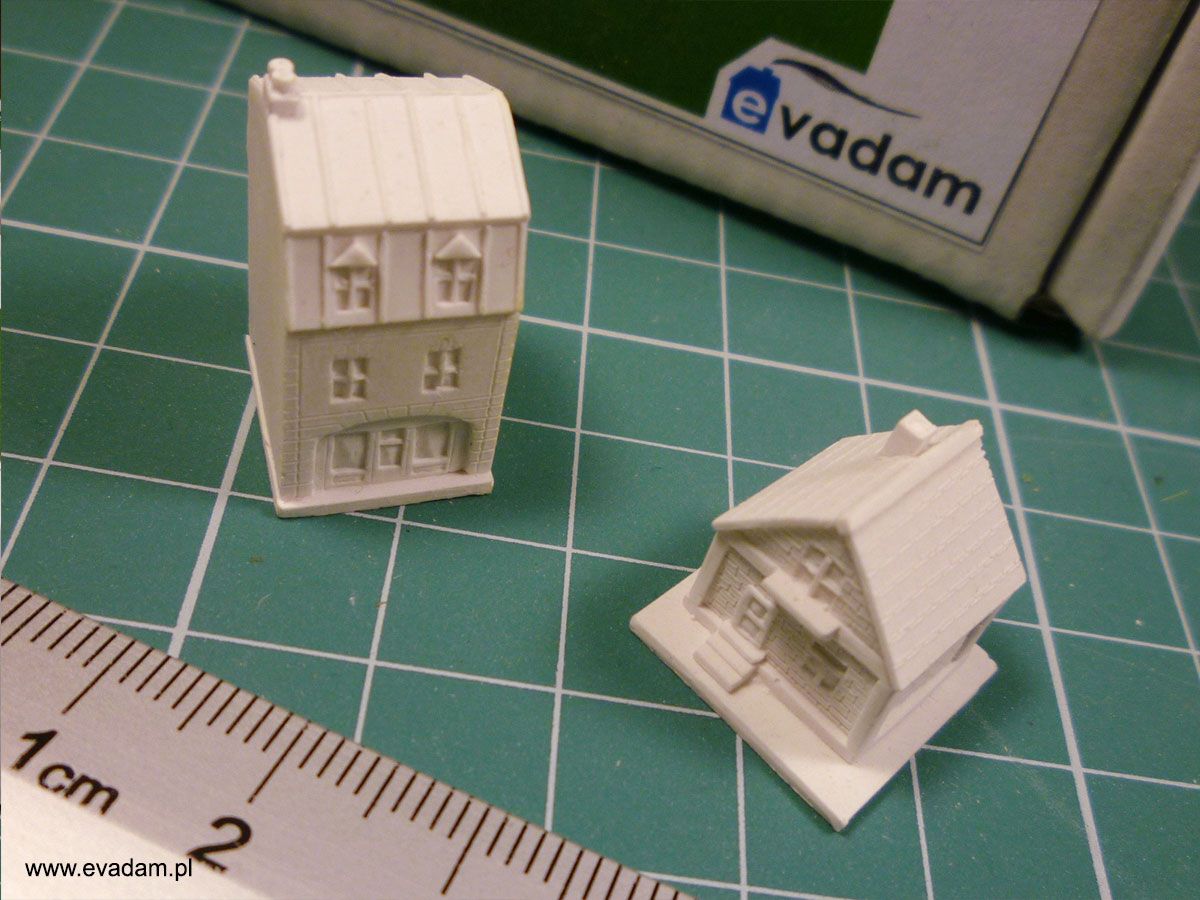
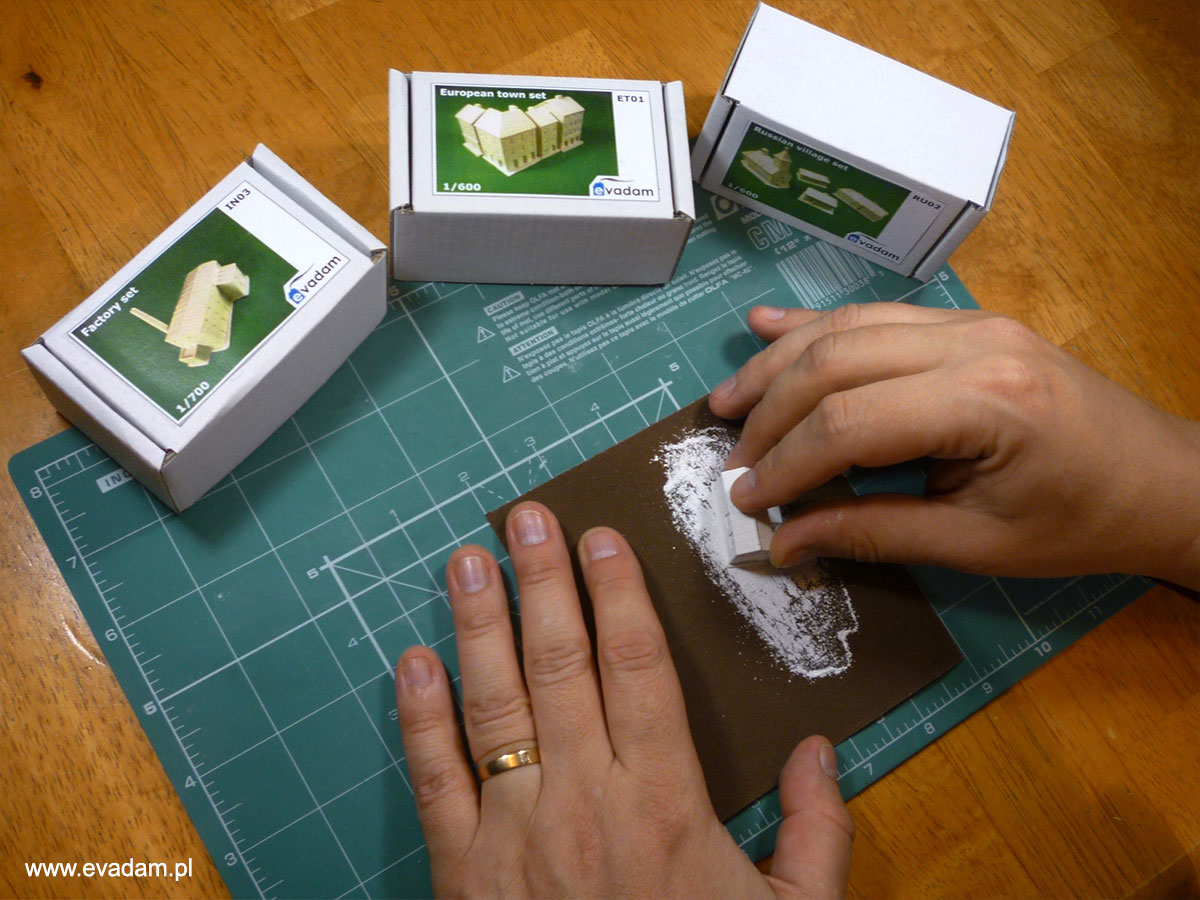
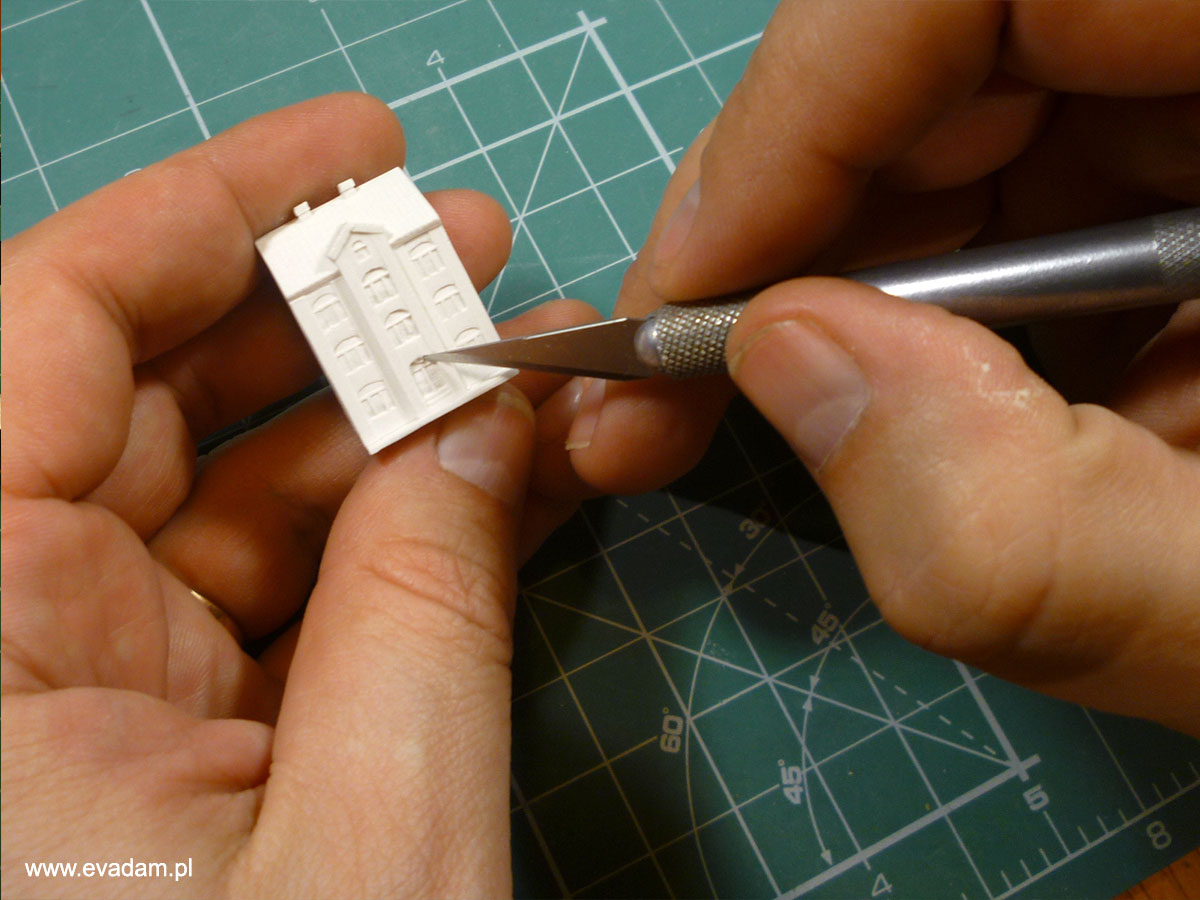
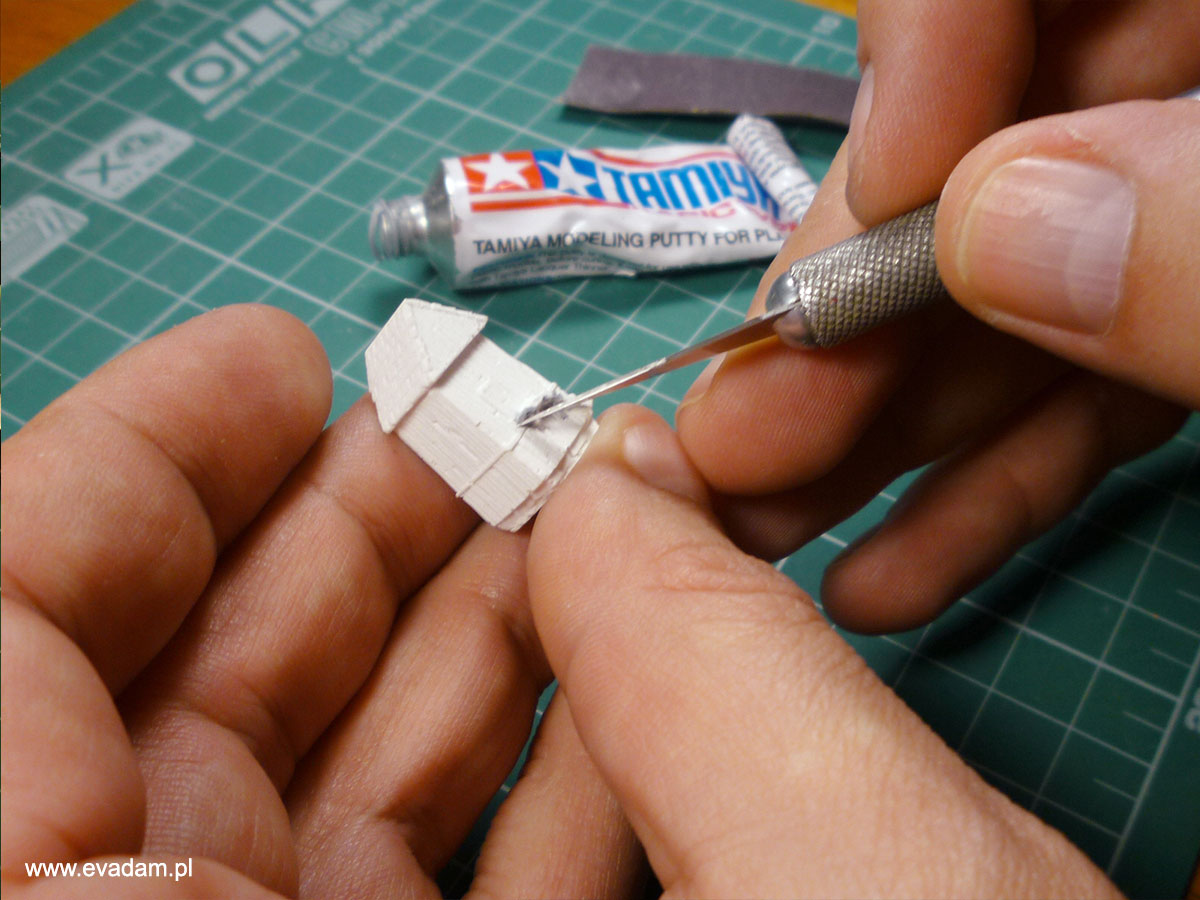
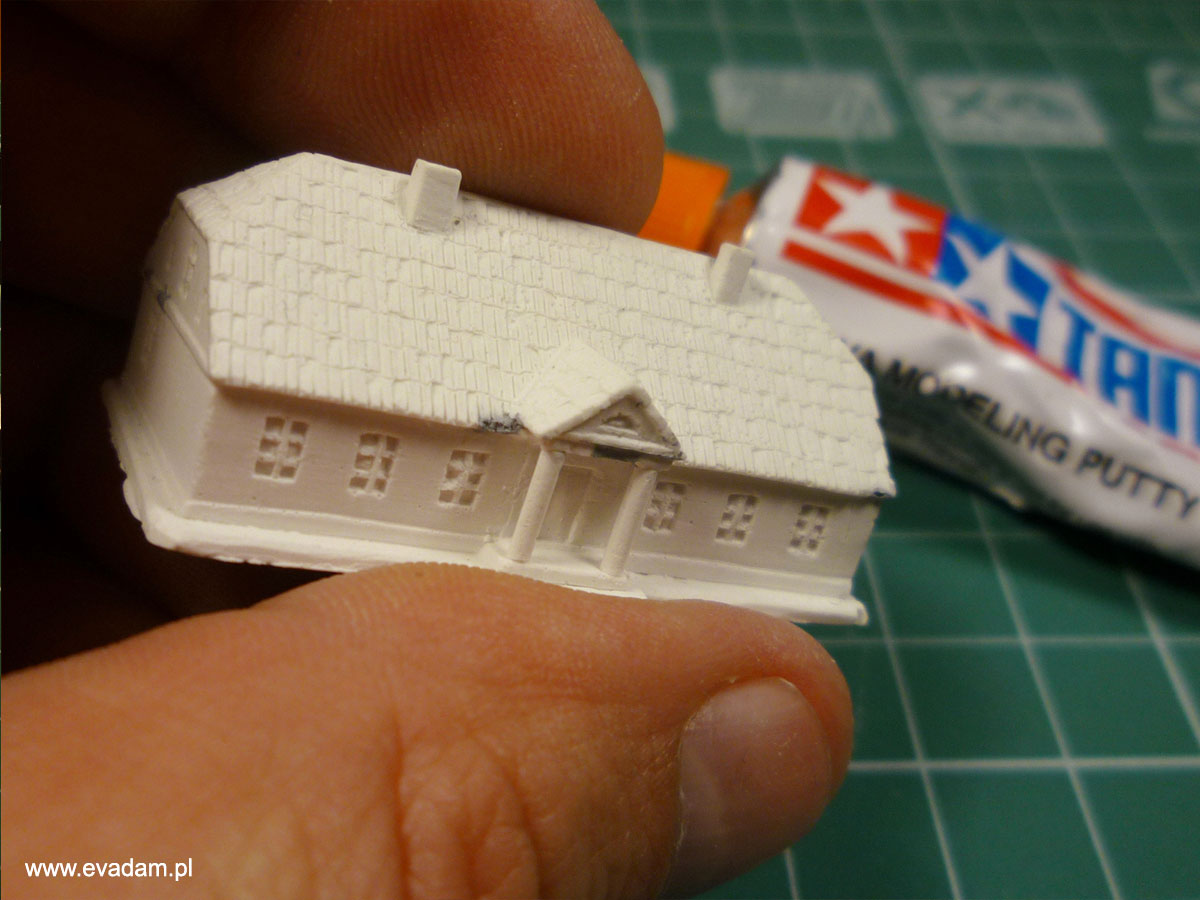
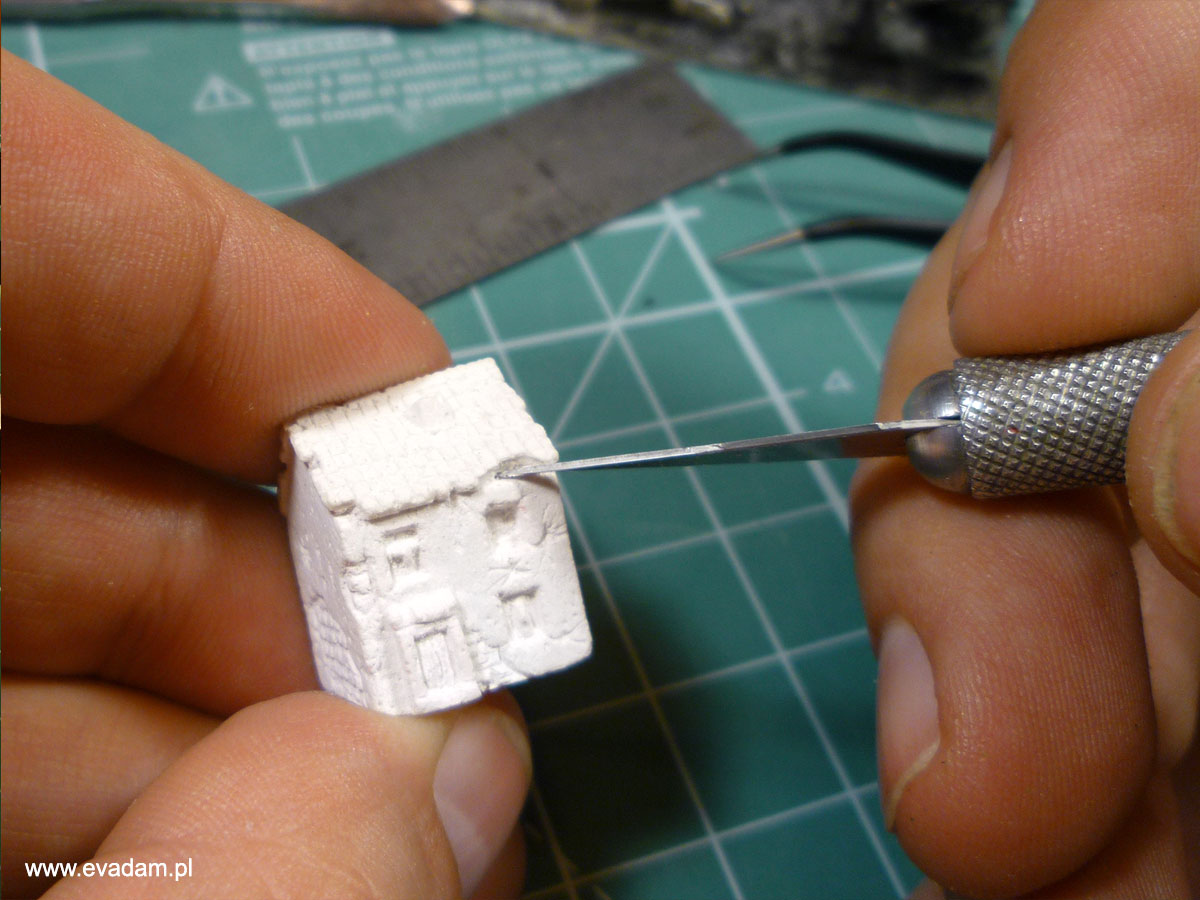
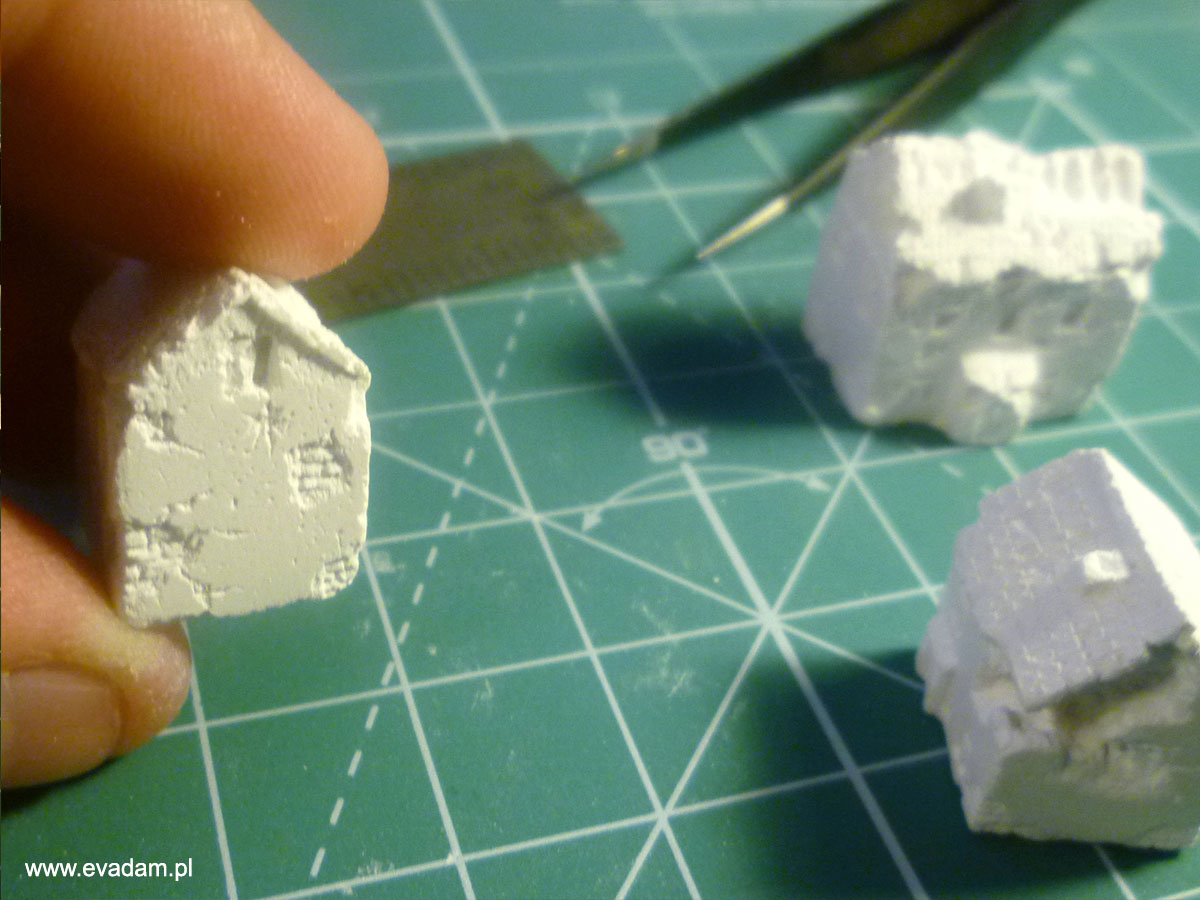
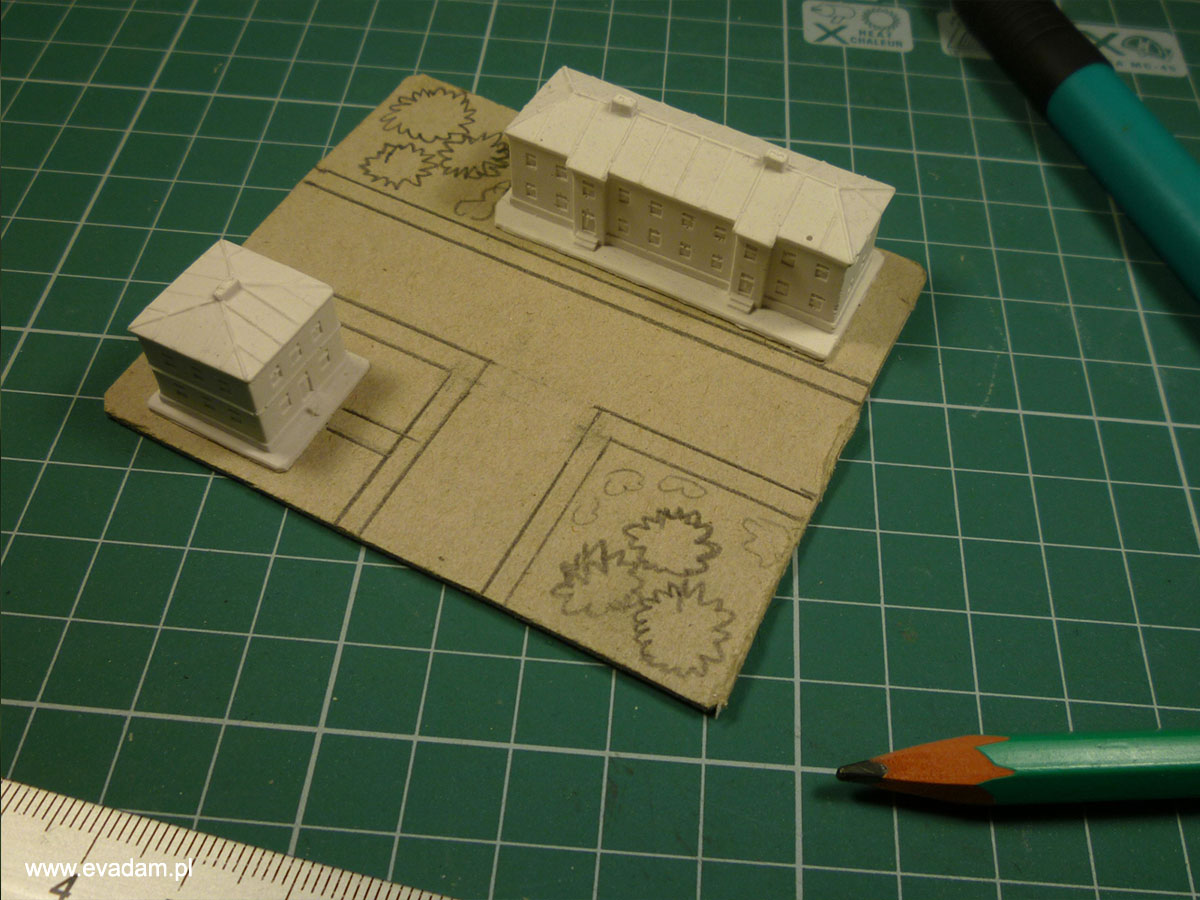
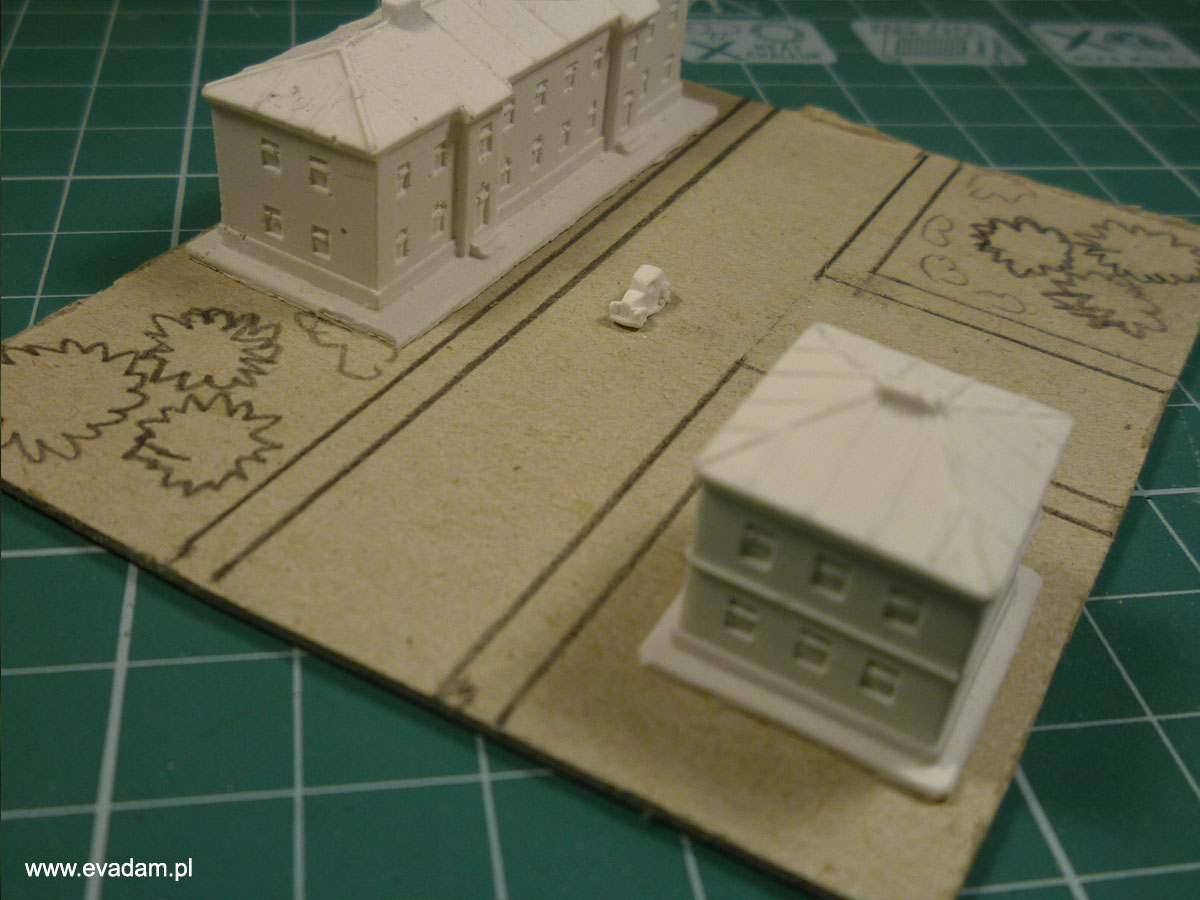
For technological reasons, our models are set on small plinths. Some of you might want to keep them to expand the contact surface by attaching the unit plinth to the base when developing your own diorama. On the other hand, should you wish to create a street by arranging houses next to each other, you will have to align unit walls. This requires excess material to be removed with a modeling knife or sandpaper.

ATTENTION: Many sets include minuscule components, frequently fragile and/or easily damaged. Open your boxes with caution to avoid loss or damage.

01-warsztat
01a-warsztat
01b-warsztat
Tools
Do not shy away from working with gypsum models. All you need to work with them is a basic modeling kit and a little patience. A list of basic tools required follows:

– Modeling knives with different blade shapes,

– Pincers,

– Abrasive paper (different grades),

– Modeling putty,

– Polyvinyl resin and cyanoacrylic glue (for gypsum and photo etched components, respectively).

HINT: Don’t throw out any dull or broken knifes or spikes. They can be invaluable when modifying or ageing your developments.

02-warsztat
02a-warsztat
02b-warsztat
First Stage Treatment
We are doing our best to provide you with top quality products – the casting process specifics, however, may produce models with surface bubbles or dents. Surface bubbles (surplus material) can be easily removed with a sharp knife. Dents can be filled with modeling putty (solid or liquid).

HINT: Sometimes leaving micro-damage is good. A chipped-off piece of stone wall or several broken shingles will make your dioramas more realistic once you paint them.

03-warsztat
03a-warsztat
03b-warsztat
Ageing
Those of you wishing to “age” our buildings can do so with no major trouble. A long-forgotten dull modeling knife or graver are perfect for a fast solution to remove plaster and reveal or model the bricks hiding beneath. “Smashing” windows or “shelling” walls with guns of different caliber should not be a problem, even for beginners in the art of modeling. This is how you can adapt your models to meet your needs, letting your imagination and demolition instincts run free 😉

HINT: “Practice” ageing on the bottom surface of the plinth to get a feel to how gypsum paste behaves. When modeling bricks the optimum way is to run your graver along a metal ruler.

04-warsztat
04a-warsztat
04b-warsztat
Photo Etched Parts
We will not attempt to reinvent the wheel here, as modeling forums are full of every related detail, although all of us scale model enthusiasts have our own secret tricks 😉 Just in case, a word of clarification: when attaching PE components to gypsum, cyanoacrylic glues (thicker and fast-drying) are the preferred choice.

HINT: Gypsum paste surfaces are more absorbent, and yet it behaves like plastic or metal. Our offer will include a growing share of photo etched accessories. You can take a look at some in our Gallery.

05-warsztat
05a-warsztat
05b-warsztat
Painting
Gypsum paste models require no special preparation before they are painted. There is no need to wash them in detergents, as opposed to resin, metal, or plastic units. You can use primer paint or apply base colors to models directly. This allows for interesting effects, as the surface of our models absorbs paint like watercolor paper. Both acrylic and enamel paints are a good choice.

HINT: We suggest you test you paints on the bottom surface of the plinth. You can try engraving or scratching the surface to check how the paint of your choice will behave. The best solution is to let every coat of paint dry to avoid rubbing off on edges.

06-warsztat
06a-warsztat
06b-warsztat
Developing Dioramas
The sky is the limit… Montana sky rather than Illinois 😉 Ultimate success involves a number of factors. Keeping within the limits of our own products we suggest for the initial stage of your work to involve an in-depth consideration of spatial planning. You can be inspired by actual streets or browse the virtual streets of GoogleMaps. Then you can begin arranging your own streets. Don’t be hasty. It will be worth your while to take a good long look at separate objects and consider the climate they will evoke when painted.

When it comes to final assembly we suggest that you develop your diorama only after the individual components have been painted. Once they are arranged (often as not close to one another) access to some details may prove difficult if not impossible. Base colors are frequently enough – once you “plant” your greenery you can make final color corrections by glazing, washing or drybrushing.

HINT: Our buildings are best attached to their base with polyvinyl resin glue – it is simple to use and flexible when dry. Bear in mind that our plinths absorb moisture easily, however: glue becomes “dry” fast after application. To prevent that effect, “water” the adhesion surface several times before applying glue.

07-warsztat
07a-warsztat
07b-warsztat